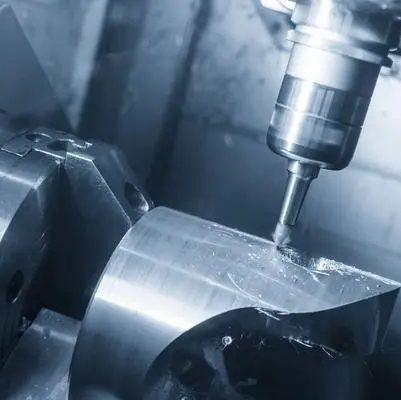
From tool setup and selection to final inspection, there are a number of details that need to be carefully considered in order to ensure the dimensional accuracy of CNC milling brass and copper parts. Here are some key steps to achieve precise dimensional accuracy:
l Machine Tool Calibration: Make sure all of the axes and parts of the CNC machine are operating properly and within the designated tolerances by calibrating it on a regular basis. This entails examining spindle runout, backlash, and linear and rotational accuracy.
l Tool Selection and Setup: Make use of superior cutting instruments made especially for copper and brass milling. To reduce tool wear and preserve constant cutting performance, choose tools with the right geometry, coatings, and sharpness. To avoid part dimension errors, make sure the tool alignment and offsets are set correctly.
l Machining Parameters Optimization: Optimize the cutting parameters, such as feed rate, depth of cut, and cutting speed, to reduce chatter, material buildup, and tool deflection. These settings ought to be adjusted for the particular material, tool geometry, and required level of surface finish.
l Workholding and Fixturing: When machining, use firm and safe workholding fixtures to stop the workpiece from moving or vibrating. Accurate dimensional measurements are avoided and consistent machining is ensured by proper fixturing.
l Toolpath Optimization: Optimize toolpaths to steer clear of abrupt changes in direction, sharp turns, and high tool engagement. Effective and seamless toolpaths minimize chatter, cut down on tool wear, and improve dimensional accuracy.
l Temperature Control: It is important to keep the workpiece and machine components at a constant temperature during machining to reduce thermal expansion and contraction. Controlling the environment, stabilizing the machine, and applying coolant properly can all help achieve this.
l Tool Wear Monitoring: To ensure consistent cutting performance and avoid dimensional errors, it is important to regularly monitor tool wear and replace worn-out tools promptly. Inaccurate part dimensions, overcutting, and undercutting can result from worn tools.
l In-Process Inspection: Throughout the machining process, perform in-process inspections to spot and correct any possible dimensional deviations. This makes it possible to make corrections before the part is finished.
l Final Inspection: Verify the dimensional accuracy of the machined part against the specified tolerances by conducting a comprehensive final inspection with the appropriate measuring instruments.
l Machine Maintenance: Make sure all parts of the CNC machine are operating correctly and within predetermined tolerances by performing preventive maintenance on a regular basis. This entails inspecting for wear, lubrication, and problems with alignment.
These steps will help you consistently produce CNC milling brass and copper parts that meet the necessary dimensional accuracy and fulfill the requirements of your applications. You should also maintain a strict approach to quality control.


