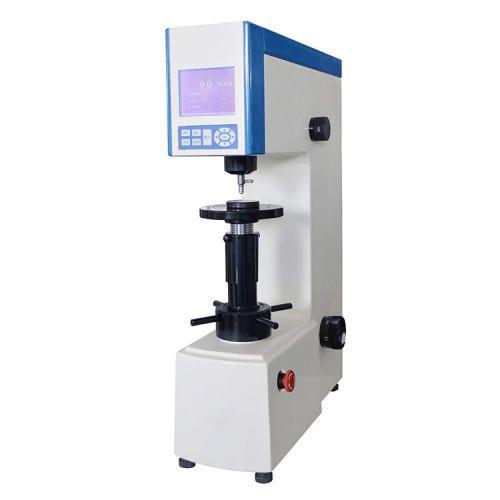
The Rockwell Hardness Tester offers several advantages that make it a popular choice for material testing, particularly for metals. Here's a closer look at its key benefits:
l Fast and Easy Operation: Compared to some other hardness testing methods, the Rockwell test is relatively quick and straightforward to perform. The testing cycle is automated, requiring minimal operator skill after initial setup. This translates to efficient testing and faster generation of results.
l Wide Range of Materials: Rockwell testers aren't limited to just one type of material. The availability of different Rockwell scales (A, B, C, etc.) allows for testing a broad spectrum of metals. Each scale has a specific range of applicability based on the expected hardness of the material. For instance, the Rockwell A scale is suitable for softer metals like aluminum, while the Rockwell C scale is used for harder metals like steel.
l Minimal Destructiveness (for some scales): A significant advantage of the Rockwell test, particularly at lower scales like Rockwell B, is its minimal destructiveness. The indentation left on the material surface is relatively small and shallow compared to other hardness testing methods. In some applications, this small indentation might be acceptable, especially for testing finished parts where maintaining a pristine surface is desirable.
l Digital and Automated Options: Modern Rockwell testers have come a long way from their mechanical counterparts. Today, many testers offer digital displays that clearly show the Rockwell Hardness Number (HR) after the test. Additionally, automated testing cycles and data acquisition capabilities are becoming increasingly common. This automation streamlines the testing process, improves accuracy by minimizing human error, and allows for efficient data storage and analysis.


