

Step-by-Step Overview of Ceiling Fan Installation in Richmond, VA Homes
Installing a ceiling fan in your Richmond, VA home can enhance comfort, improve air circulation, and reduce energy costs. Whether you're upgrading an existing fixture or starting from scratch, understanding the installation process helps you make informed decisions. This guide walks you through everything you need to know about ceiling fan installation in Richmond homes.
Why Install a Ceiling Fan?
Energy Efficiency and Comfort
Ceiling fans help circulate air, keeping rooms cooler in summer and warmer in winter. They allow you to adjust your thermostat while maintaining comfort, which can result in lower utility bills throughout the year.
Added Aesthetic Value
Fans now come in various designs, making them functional and decorative. Installing a stylish fan can enhance the look of your living room, bedroom, or outdoor patio.
Useful Year-Round
Modern ceiling fans often come with a reversible motor. In winter, you can reverse the direction to circulate warm air trapped near the ceiling.
Before You Begin: Things to Consider
Electrical Setup and Ceiling Type
Before installing a ceiling fan, assess your ceiling’s structural support and existing electrical wiring. Most ceiling fans require a fan-rated electrical box and secure mounting to ensure safety.
Fan Size and Placement
Ceiling fan size should match the room dimensions. In Richmond homes, living rooms and large bedrooms typically require a fan with a blade span of 52 inches or more, while smaller rooms may only need 36–44 inches.
Building Codes and Permits in Richmond, VA
Richmond has local codes for electrical installations. While ceiling fan installations generally don’t require a permit, it’s always wise to verify with the city’s building department. If you're not comfortable working with wiring, hiring a licensed electrician is recommended.
Tools and Materials Needed
Basic Tools
-
Screwdrivers
-
Wire strippers
-
Voltage tester
-
Ladder
Installation Materials
-
Ceiling fan kit (including mounting bracket, blades, motor, and hardware)
-
Fan-rated electrical box
-
Wire connectors
-
Electrical tape
Step-by-Step Installation Guide
Step 1: Turn Off the Power
Before doing any work, shut off power to the circuit at the breaker box. Use a voltage tester to ensure there is no electrical current in the wires.
Step 2: Remove the Existing Fixture
If replacing a light fixture, remove it carefully. Take note of how the wires are connected. Unscrew the old mounting box and assess if it's rated for fan installation.
Step 3: Install the Fan-Rated Electrical Box
Install a UL-listed electrical box designed to support ceiling fans. This step is crucial for safety, as regular light fixture boxes may not handle the fan’s weight and movement.
Step 4: Assemble the Fan Components
Following the manufacturer's instructions, partially assemble the fan. This usually includes attaching the downrod to the motor and prepping the blades for final installation.
Step 5: Mount the Bracket and Motor
Secure the mounting bracket to the electrical box. Then, lift the motor assembly and attach it to the bracket. Make sure it’s locked in place and does not wobble.
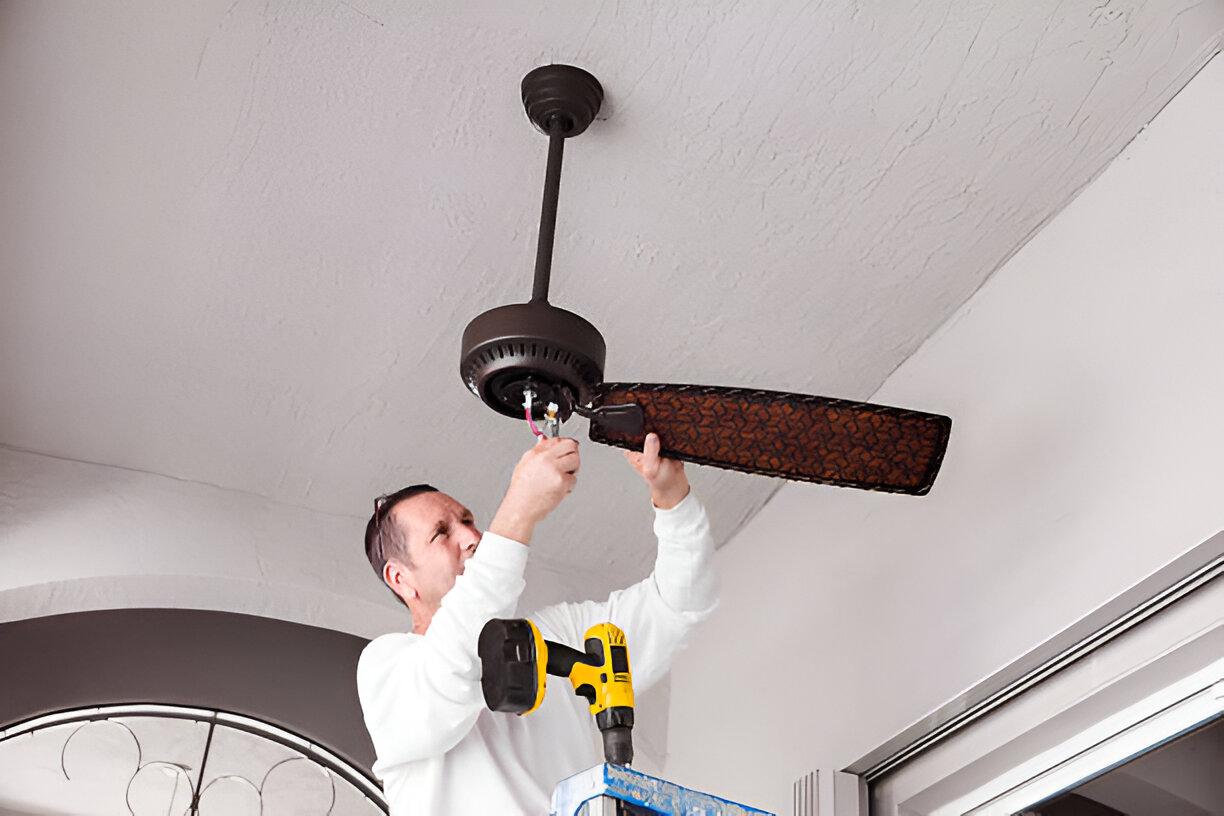
Step 6: Wire the Fan
Connect the fan wiring to your home's wiring: typically, black to black (hot), white to white (neutral), and green or bare copper to ground. Secure with wire connectors and wrap with electrical tape.
Step 7: Attach the Blades and Light Kit
Once the motor is mounted and wired, attach the blades and any light kit that comes with the fan. Tighten all screws firmly to reduce noise during operation.
Step 8: Turn Power Back On and Test
Restore power at the breaker box and test the fan. Try all speed settings and the light function to confirm everything is working properly.
Ceiling Fan Installation Tips for Richmond Residents
Seasonal Adjustments
Change the fan’s direction based on the season. In summer, blades should spin counterclockwise for cooling. In winter, switch to clockwise for warm air circulation.
Energy Star Certified Fans
Consider Energy Star-rated ceiling fans for maximum efficiency. Richmond homeowners can benefit from reduced energy bills and potential rebates.
Professional vs. DIY Installation
If your home’s wiring is outdated or you’re unsure about the process, it’s best to hire a licensed electrician. This ensures the installation is code-compliant and safe.
Common Mistakes to Avoid
Using a Non-Rated Electrical Box
A regular light fixture box is not strong enough for a ceiling fan. Always use a box rated for ceiling fan support.
Loose Mounting Hardware
Improper tightening can cause wobbling or noise. Double-check all screws and connections during installation.
Incorrect Blade Placement
Unbalanced or misaligned blades can cause vibration. Use a blade balancing kit if necessary.
FAQ: Ceiling Fan Installation in Richmond, VA
1. Do I need a permit to install a ceiling fan in Richmond?
In most cases, no permit is required if you're replacing an existing fixture. However, if new wiring is involved or you’re installing in a new location, it's best to check with the local building office.
2. How much does ceiling fan installation cost in Richmond?
Costs vary depending on complexity, but Richmond homeowners can expect to pay between $100 to $300 for professional installation, not including the fan.
3. Can I install a ceiling fan where there’s no existing fixture?
Yes, but it will require running new wiring and installing a fan-rated electrical box. This task is best left to a qualified electrician.
4. What size ceiling fan do I need for my room?
For rooms up to 75 square feet, a 29–36 inch fan works well. For rooms between 76–144 square feet, go with 36–44 inches. Large rooms may require 52 inches or more.
5. What’s the best ceiling height for a fan?
Fans work best when their blades are 8–9 feet above the floor. In rooms with high ceilings, use a downrod to lower the fan to the optimal height.
Final Thoughts
Installing a ceiling fan in your Richmond home can be a smart move for both comfort and energy savings. Whether you go the DIY route or hire a professional, understanding the process ensures a safer and more effective installation. Always follow manufacturer instructions, stay compliant with local codes, and never hesitate to seek expert help if needed.