

Hardwood Floor Sanding: A Complete Guide to Smooth, Lasting Floors
Introduction
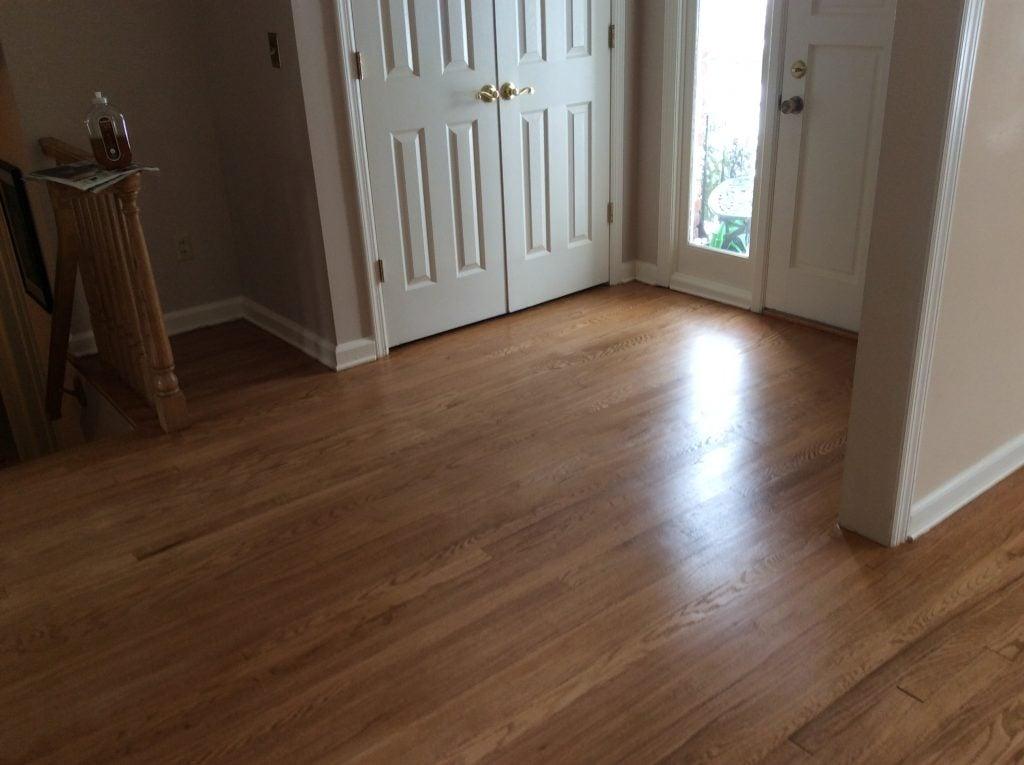
Hardwood floors are timeless, beautiful, and one of the most valuable features of any home. But over time, scratches, dull finishes, and everyday wear can make even the most stunning wood floors look tired. That’s where hardwood floor sanding comes in—a process that can breathe new life into your flooring and restore its original shine.
If you’ve ever wondered whether you should sand your hardwood floors, how the process works, or whether it’s a DIY project or better left to professionals, you’re in the right place. In this guide, we’ll break down everything you need to know about sanding hardwood floors, including step-by-step instructions, tools you’ll need, pro tips, and common mistakes to avoid.
By the end, you’ll know exactly how sanding works, when it’s the right choice, and how to get the smooth, polished floors you’ve been dreaming of.
What Is Hardwood Floor Sanding?
Hardwood floor sanding is the process of removing the top layer of wood and old finish from your floor using a specialized sanding machine. This removes:
-
Scratches and scuff marks
-
Stains and water damage
-
Uneven surfaces
-
Dull or faded finishes
Once the sanding is complete, the fresh wood surface can be refinished with stain, oil, or polyurethane to protect and enhance the natural beauty of your floors.
Why Sand Your Hardwood Floors?
Sanding isn’t just about looks—it’s also about durability and value. Here are the main benefits:
-
Restores beauty: Eliminates imperfections and brings back the natural wood grain.
-
Prepares for refinishing: Smooths the surface so new finishes adhere properly.
-
Increases home value: Freshly refinished hardwood adds appeal for buyers.
-
Extends lifespan: Regular sanding and refinishing can make hardwood floors last for decades.
Signs Your Hardwood Floors Need Sanding
Not sure if it’s time? Look out for these signs:
-
Deep scratches that don’t buff out
-
Water damage or gray spots
-
Finish wearing off in high-traffic areas
-
Dullness, even after cleaning
-
Uneven coloring across the floor
Pro Tip: If your hardwood has been sanded several times already, it may be too thin to sand again. Always check with a flooring professional first.
Hardwood Floor Sanding Process: Step by Step
Here’s what sanding typically involves:
1. Preparation
-
Remove all furniture and rugs.
-
Clean the floor thoroughly to remove dust and debris.
-
Check for nails or staples sticking out and hammer them down.
2. Sanding
-
Start with a drum sander (coarse grit) to remove old finish.
-
Work in the direction of the wood grain.
-
Repeat with medium and fine-grit sandpapers for a smooth finish.
-
Use an edger sander to reach corners and edges.
3. Cleaning
-
Vacuum and wipe down all dust with a damp microfiber cloth.
4. Refinishing
-
Apply stain (optional) for desired color.
-
Seal with polyurethane or oil-based finish for protection.
-
Allow to dry and cure before moving furniture back.
DIY vs. Professional Hardwood Floor Sanding
DIY Sanding
Pros:
-
Cheaper upfront
-
Full control over finish choice
Cons:
-
Time-consuming
-
Risk of uneven sanding or gouging wood
-
Rental equipment can be heavy and tricky to use
Professional Sanding
Pros:
-
High-quality, even finish
-
Faster and less stressful
-
Dust-free sanding systems available
Cons:
-
Higher cost than DIY
Rule of Thumb: If your floors are severely damaged or you’ve never sanded before, hiring a pro is the safer choice.
Common Mistakes to Avoid
-
Sanding across the grain (causes scratches)
-
Skipping grits (leaves uneven surfaces)
-
Not cleaning dust before finishing
-
Using too much stain or sealer
-
Forgetting proper drying times
How Often Should You Sand Hardwood Floors?
Most hardwood floors only need sanding every 7–10 years, depending on foot traffic, pets, and maintenance. Light buffing and recoating in between can extend the time between full sanding projects.
Cost of Hardwood Floor Sanding
The cost varies depending on floor size, condition, and location:
-
DIY sanding rental equipment: $60–$100 per day
-
Professional sanding & refinishing: $3–$8 per sq. ft.
For a 500 sq. ft. space, expect around $1,500–$3,000 for professional service.
FAQs About Hardwood Floor Sanding
1. Can all hardwood floors be sanded?
Not always. Engineered wood floors usually have a thin top layer and may only handle sanding once or twice. Solid hardwood can be sanded multiple times.
2. How long does sanding and refinishing take?
A standard room (200–400 sq. ft.) usually takes 2–4 days, including drying time.
3. Will sanding remove deep stains and pet damage?
Most stains and scratches can be removed, but if the wood is too damaged, replacement boards may be needed.
4. Is sanding very dusty?
Traditional sanding creates lots of dust, but many professionals now use dustless sanding systems that minimize mess.
5. Can I walk on floors immediately after sanding?
You can walk on bare sanded wood, but once the finish is applied, wait at least 24–48 hours before light use and up to 7 days before placing furniture.
Conclusion
Hardwood floor sanding is one of the most effective ways to restore the beauty, strength, and longevity of your flooring. Whether you choose to tackle it as a DIY project or hire a professional, the results can dramatically transform your home.
By removing scratches, stains, and old finishes, sanding gives your floors a fresh start and sets the stage for years of enjoyment.
Ready to bring your hardwood floors back to life? Start by inspecting your floors today, and decide if it’s time for sanding and refinishing. Share your experience in the comments or reach out to a flooring pro for a personalized consultation!