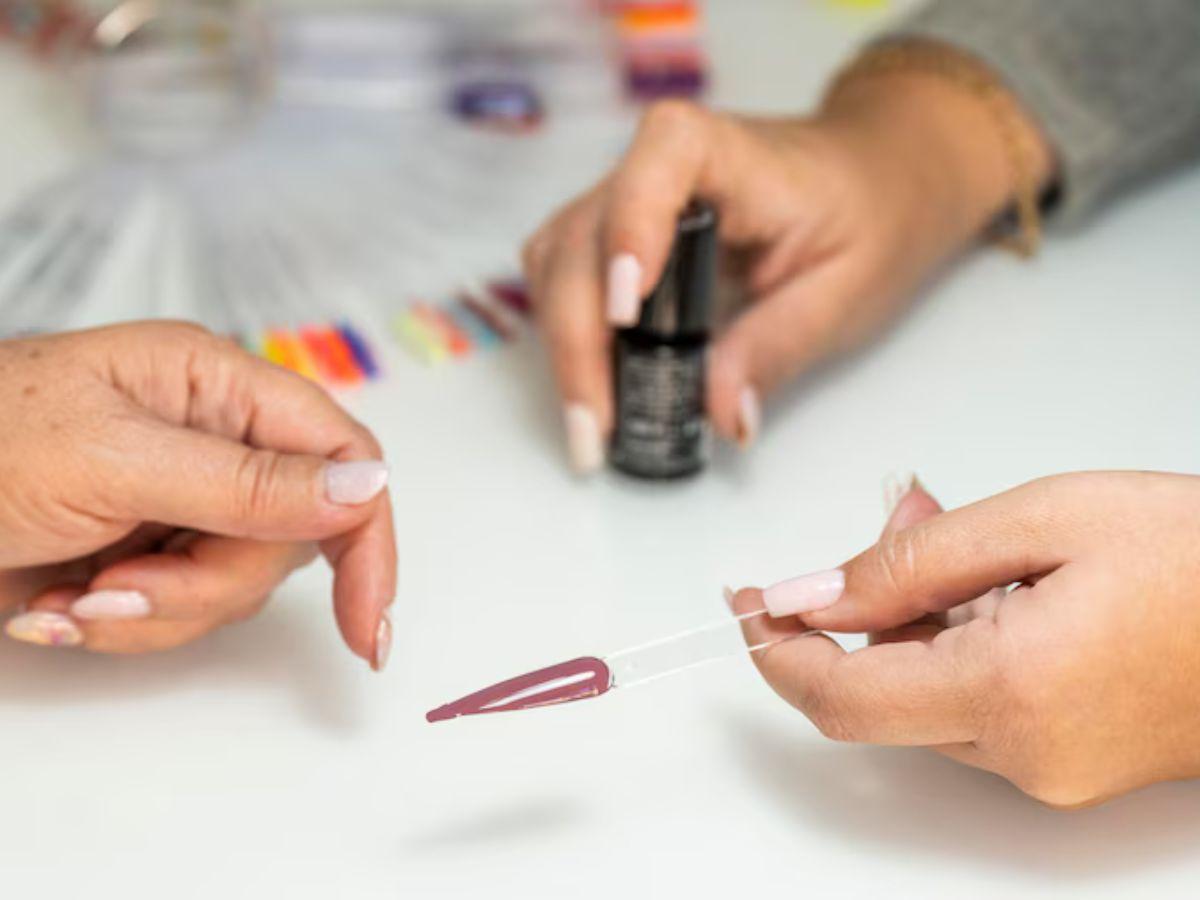
Design Tips for Nails: Create Stunning Nail Art Like a Pro
 Nail art has become a popular form of self-expression, allowing people to showcase their creativity, personality, and style in miniature form. Whether you're a professional nail technician or a DIY enthusiast, knowing the right design tips for nails can elevate your manicures from basic to breathtaking. From color choices to brush techniques, there are endless ways to improve your nail art game.
In this blog, we'll explore essential nail design tips that will help you create salon-quality results at home. Whether you're into minimalist designs or bold statement nails, these tips are sure to inspire your next manicure.
Nail Design Starts with the Basics
Before diving into complex designs or intricate patterns, it’s important to build a strong foundation. Healthy, well-prepared nails are essential for any manicure to look its best and last longer.
1. Clean and Shape the Nails Properly
Start by trimming your nails to your desired length for him and shape. Popular shapes include oval, almond, square, and coffin. Use a nail file (not clippers) to gently shape and smooth the edges.
Also, push back your cuticles and remove any hangnails. A tidy nail bed is the perfect canvas for any design.
2. Buff and Prime
Buffing removes ridges and gives nails a smooth surface. After buffing, use a base coat to protect your natural nails and ensure better adhesion of polish or gel.
Choosing the Right Colors and Textures
Color theory plays a huge role in nail art. Knowing which shades work together can help create visually pleasing designs.
3. Use the Color Wheel
Complementary colors (opposite on the color wheel) such as blue and orange or purple and yellow make designs pop. Analogous colors (next to each other) like pink, red, and orange create a harmonious look.
4. Mix Finishes for Dimension
Combine matte, glossy, glitter, and metallic finishes to add interest to even the simplest designs. For instance, matte black with a glossy top coat stripe adds a modern, chic touch.
Design Tools and Techniques
Using the right tools makes a world of difference when it comes to nail art.
5. Invest in Quality Brushes and Dotting Tools
Fine detail brushes are perfect for intricate lines and delicate patterns, while dotting tools help create consistent circles, hearts, and flower petals.
If you don’t have tools on hand, everyday items like bobby pins, toothpicks, or makeup sponges can also be used creatively.
6. Use Striping Tape for Clean Lines
Striping tape allows for precise, crisp lines in geometric or color-blocked designs. Make sure the base coat is completely dry before applying tape to avoid smudging.
7. Stamps and Stencils for Beginners
If freehand drawing feels intimidating, stamping plates and nail stencils can help you achieve complex patterns effortlessly. Just apply polish to the plate, scrape off the excess, pick up the design with a stamper, and press it onto your nail.
Trendy Nail Design Ideas to Try
Here are a few trendy ideas that are beginner-friendly yet eye-catching:
8. French Tip Reinvented
Move beyond the classic white tip. Use bold colors, glitter tips, or diagonal French tips for a modern twist.
9. Negative Space Designs
These designs use the natural nail as part of the art, leaving sections unpainted for a minimalist aesthetic. Use tape or stickers to block off areas while painting.
10. Abstract Art Nails
Inspired by modern art, this trend features free-form lines, shapes, and swirls in bold or pastel colors. There’s no right or wrong way to do it — which makes it great for beginners.
11. Floral Patterns
Flowers are timeless in nail art. Start simple with a daisy design using a dotting tool, and work your way up to intricate roses and vines.
12. Seasonal and Holiday Themes
From snowflakes and hearts to pumpkins and pastel Easter eggs, themed nails are fun and festive. Use small brushes or decals for detailed work.
Long-Lasting Nail Art Tips
A great design doesn’t mean much if it chips within a day or two. Follow these tips to make your nail art last longer:
13. Seal with a Top Coat
Always finish your design with a high-quality top coat to seal in the art and add shine. Reapply every few days to prevent chips.
14. Avoid Heat and Water Immediately After
Allow at least an hour for polish to fully cure before washing dishes, taking a hot shower, or doing other water-heavy tasks.
15. Use Cuticle Oil
Healthy cuticles prevent your nail polish from lifting. Apply cuticle oil daily to maintain hydration and extend the life of your manicure.
Final Thoughts: Nail Art as Self-Expression
Nail art isn’t just about looking good — it’s about feeling confident and expressing your unique personality. Whether you’re going bold with neon swirls or keeping it classy with nude tones and minimal designs, your nails can reflect your mood, the season, or your creative side.
These design tips for nails aren’t just for professionals. With a bit of patience and practice, anyone can create stylish, statement-making nails at home. So next time you pick up your polish, remember — every nail is a little canvas, and you’re the artist.
- Art
- Causes
- Crafts
- Dance
- Drinks
- Film
- Fitness
- Food
- Jocuri
- Gardening
- Health
- Home
- Literature
- Music
- Networking
- Alte
- Party
- Religion
- Shopping
- Sports
- Theater
- Wellness


