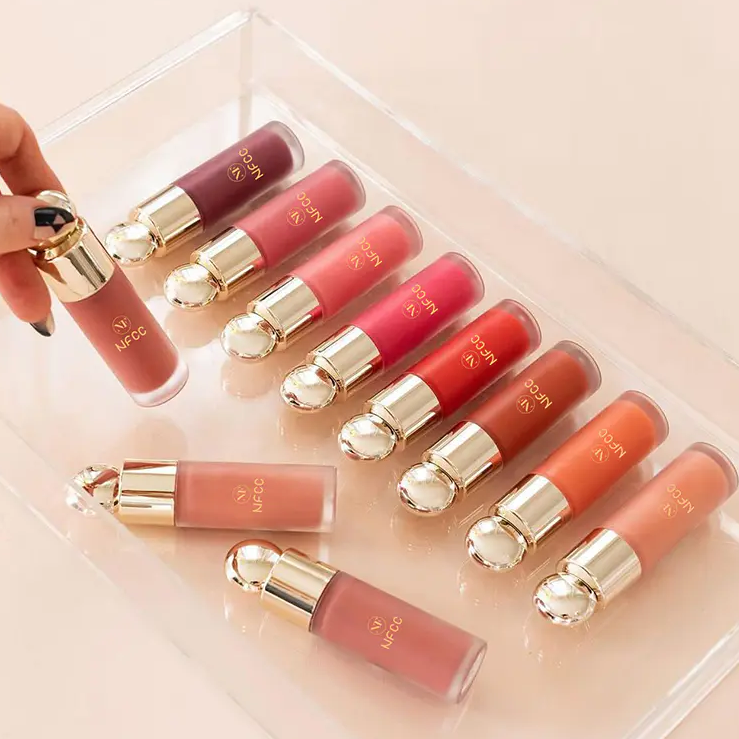
How to Apply Matt Blusher for a Natural Look?

Applying matt blusher correctly is key to achieving a flawless, natural-looking flush. While it may seem like a simple task, there are techniques that can help you get the most out of your matt blusher and avoid common mistakes, such as over-application or uneven blending.
First, it’s essential to choose the right tool for application. A fluffy blush brush with soft bristles is often the best choice for matt blushers. The brush should be large enough to pick up a sufficient amount of product but not too dense to apply too much color. When applying the blush, lightly tap the brush on the blush pan to pick up product, and then tap off any excess to avoid overloading the brush.
Next, start by applying the blusher to the apples of your cheeks. A good way to find this area is to smile and place the blush on the rounded part of your cheeks. From there, blend the blush outward toward the temples, creating a soft gradient effect. This will give the appearance of a natural flush, rather than a harsh line of color.
For those who prefer a more sculpted look, applying the matt blusher slightly higher on the cheekbones can create the illusion of lifted facial features. This technique can also be enhanced by applying a subtle contour to the hollows of the cheeks, providing dimension to the face.
If you’re new to applying blush, it’s better to build the color gradually. Start with a light application and increase the intensity as needed. It’s always easier to add more product than to take away excess, so applying in layers ensures a more controlled and natural-looking finish.
Lastly, don’t forget to blend well. Blending is the key to ensuring that the blush looks seamless and natural. Use circular motions to blend the product into the skin, making sure there are no harsh lines or streaks. A little blending goes a long way in achieving a polished, subtle flush of color.
- Art
- Causes
- Crafts
- Dance
- Drinks
- Film
- Fitness
- Food
- Games
- Gardening
- Health
- Home
- Literature
- Music
- Networking
- Other
- Party
- Religion
- Shopping
- Sports
- Theater
- Wellness


